Foodbuzz

Tuesday, December 7, 2010

Vegetable Pulao

0 Comments

A day before, I saw the Pudina Leaves lying in the rack of Reliance Fresh. I don't often use Pudina in my day to day preparations, but thought of picking them up for some rice kind of preparation as I am a 'Rice Lover'!!

I would like to add a tip here to increase the shelf life of Pudina Leaves. Pick them up & wrap in a tissue paper & store in some air tight plastic container at the door of the refrigerator. Do not store it inside the refrigerator. It will stay fresh & green for a longer time if stored at the door.

If you are good at cutting vegetables & enjoy doing it...this is the simplest recipe & also a good and satisfying one pot meal. Generally few of them hate adding pudina to pulao or biryani coz it turns black. But I can assure you about the value it adds to the dish as mentioned in Step 7. Makes the pulao simply mintyyyy!!

Vegetable Pulao

Serves: 4                  Preparation Time: 10 mins                   Cooking Time: 10 mins

Ingredients:

1 bowl basmati rice (washed & drained)
2 tbspn oil+ 2 tbspn ghee
1 carrot cut into cubes
1 onion thinly sliced
few pieces of cauliflower (u can also use french beans if you have)
few Nutrela mini soya chunks (fried in a tsp oil, boiled, washed & drained)
1 bowl coconut milk (I had Maggi coconut milk powder so prepared the coconut milk using the same)+ 1 bowl water OR 2 bowls water
few corainder leaves & pudina leaves for garnishing
1 tej patta+ 2 cloves+ 2 peppercorns + 1 small piece of dalchini
1 tsp cumin seeds or shahjeera
1 tsp everest biryani pulao masala
salt as per taste
Ingredients
Step 1: Heat the oil & ghee in a pressure cooker.
Step 2: Add  cumin seeds, once they splutter add tej patta, cloves, peppercorns, dalchini & saute for 10-15 secs.
Step 3: Add onion & saute till they just turn transparent.
Step 4: Add rest of the veggies & soya chunks followed by salt & everest masala & saute for 2 mins on a medium heat. Add rice & mix well.
Step 5: Add coconut milk + water.
Step 6: Close the lid & let it cook on medium heat upto 2 whistles. Reduce the heat to minimum for 1 min & turn off heat.
Step 7: Let it cool. Once the steam escapes completely, open the lid, add coriander & mint leaves & run a spoon through the pulao & close again with another dish. This will give a wonderful mint flavour to the pulao which will be loved by all!!
Step 8: Its ready to be served!! 


Note: I have used the spices to suit my toddlers taste. You may increase the amount of Everest masala or other whole spices as per your choice.

Monday, December 6, 2010

Mirchi Thecha/ Mirchi Kharda/ Green Chilli Chutney

0 Comments

From Choco-Lava Cake to Mirchi Thecha...but dat's my tru taste now ;)
This one is really spicy &  not for all...but tastes awesome...& has always received compliments from Y ...he says..."as soon as I open my tiffin...this smell goes across the table...& all my colleagues know what is it..."
Its not the main dish though, but an accompaniment to the main course.
What matters most is the type of chillies being used for the preparation (the green & small ones) & the amount for which you saute the garlic....that adds the real value to this...

Mirchi Thecha/ Mirchi Kharda/ Green Chilly Chutney

Preparation Time: 10 mins               Cooking Time: 5-7 mins

Chillies, Garlic & Cumin seeds
Ingredients:
8-10 green chillies
1 big garlic pod
1 tsp cumin seeds
Salt as per taste
1 1/2 tbspn oil


Step 1: Roughly cut the garlic & chillies.
Step 2: Heat the oil in tava/ griddle.
Step 3: Add cumin seeds. Once they splutter, add garlic & saute till its takes nice light brown colour.
Sauteed Garlic & Green Chillies
Step 4: Add green chilies & saute for another 2-3 mins (note the time). Add salt & mix well.
Step 5: Turn off heat & transfer to a blender. Let it cool & blend just for a while. Make sure not to make it to a paste.
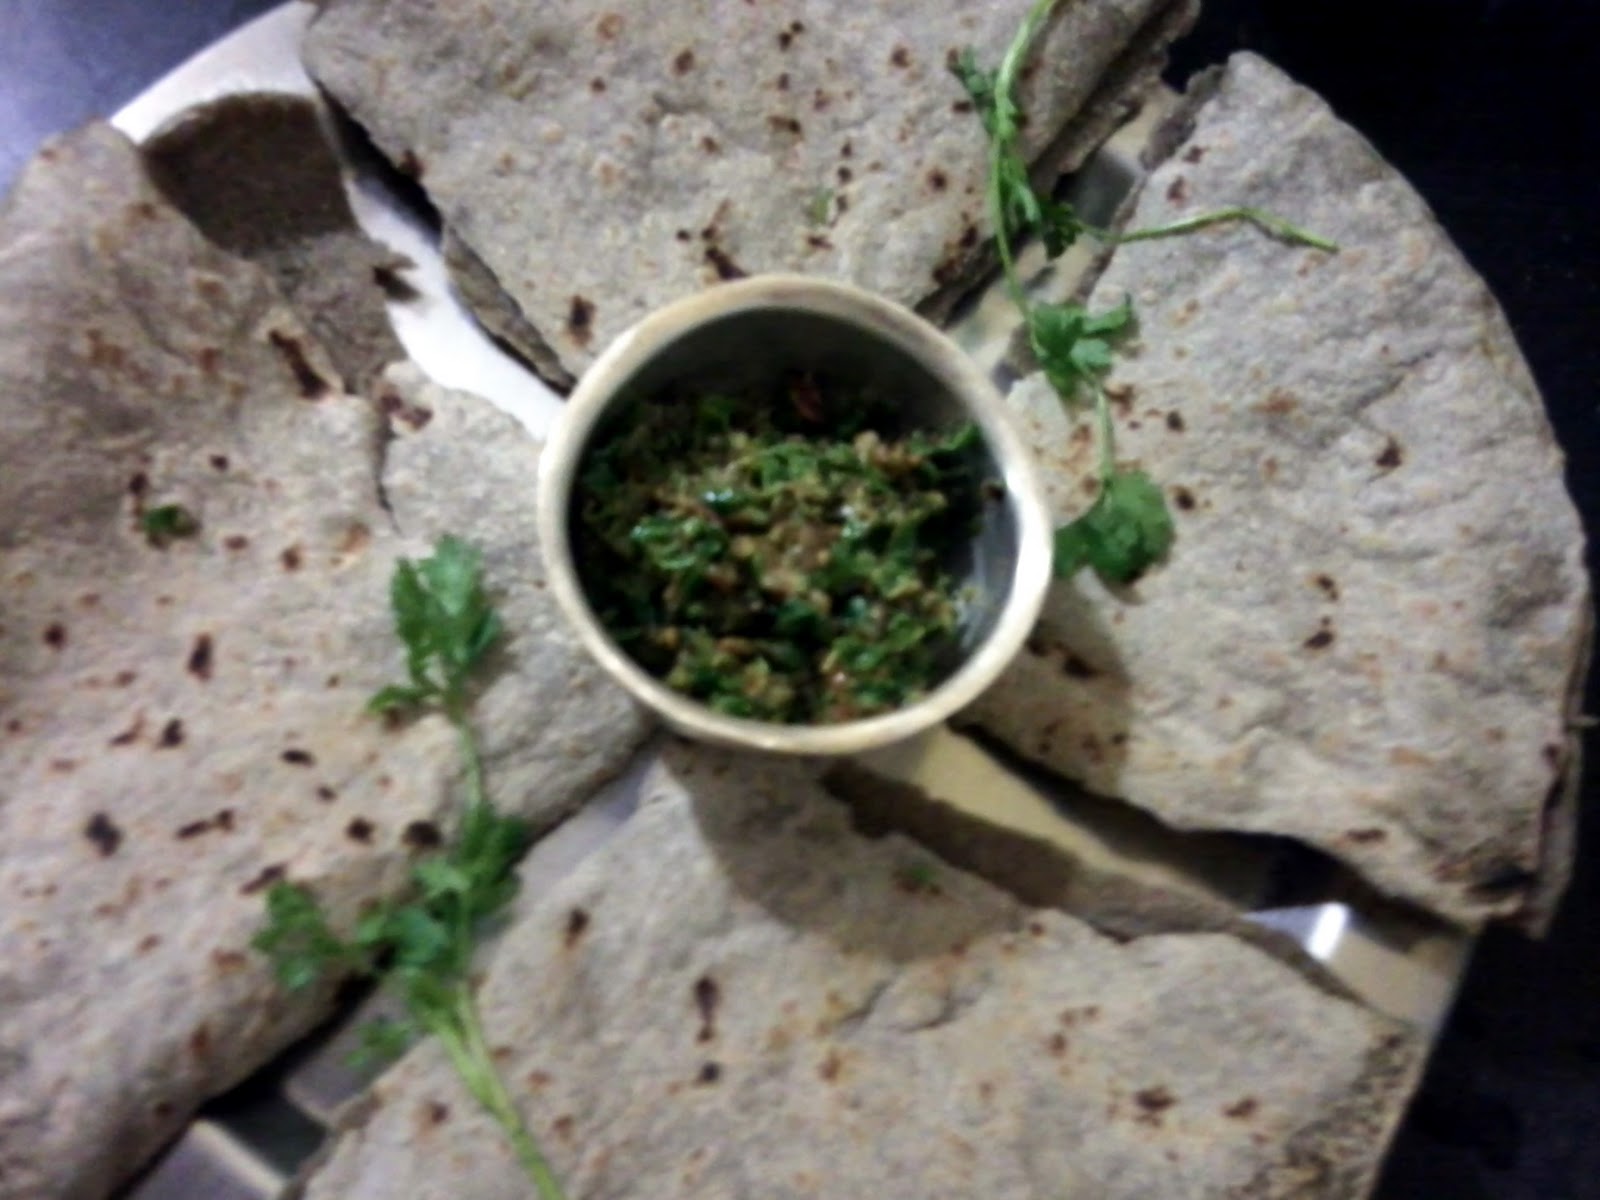
Step 6: Serve with Bhakri (Bajra Roti).
Served with Bhakri

Sunday, December 5, 2010

Pressure Cooker Magic- Choco Lava Cake

14 Comments

@Home, we mostly prefer the spicier cuisine, however, I wanted to start with something sweet for the first recipe post here & so here comes something just delicious & mouthmelting!!

Dominos launched the Choco Lava Cake & I started drooling for it!! Warm & enjoy the chocolate cake with the soft, creamy chocolate lava which melts in the mouth...mmmm yummmy!! I still remember the fear I had in my mind while baking the first basic cake...but I assure it to the beginners that baking is just like wine...the more it ripes with your practice..the more it improves...so just go ahead & do it!! 

Here's the recipe for the choco-lava cake which I have baked in a Pressure Cooker. The best part of the cake is the complete wheat flour (atta) & no maida used in the preparation...which makes it healthier for all in the family. I dont have an OTG as of now, but I know Y is surely thinking of buying one...watching my craze towards baking ;)...& I will offcourse compel him for that..just by making him "eat & burpp!!"!! Heyy, but the pressure cooker also works nothing less than the OTG for me...just the same tastes...the same smell..which emanates all over the house...makes you all crave for the new bake...so here comes the pressure cooker magic..

Choco- Lava Cake

Serves:4              Preparation Time: 20 mins             Baking Time: 30 mins

Ingredients:

2 eggs
3/4 bowl Wheat Flour + some more for greasing
1/2 bowl granulated sugar
1/3 bowl refined sunflower oil or any vegetable oil
1 & 1/2 tsp baking pwd
1/2 tsp eating soda
4 tbspn unsweetened cocoa pwd
1 tspn vanilla essence

Ingredients for Choco Lava:
1 bowl Amul Fresh Cream
1 small Cadbury Bournville dark chocolate
1/3 bowl unsweetened cocoa pwd
4 tbspn powdered sugar

Step 1: Prepare the filling:
Heat the cream till it just starts boiling. Break the dark chocolate in a bowl. Pour the cream over the chocolate. Add sugar. Stir well. Add a little cocoa pwd at a time & keep stirring to form a smooth & creamy chocolate lava. Let the filling cool completely till you prepare the cake batter.


Pre-heating the Cooker
 Step 2: Place the cooker on the gas stove on the small burner & least heat. It is advisable to use the cooker plate to avoid direct heat to the moulds. (This is pre-heating)

Step 3: Sieve the atta, baking pwd & baking soda together with the Maida strainer (with smallest holes). Add cocoa pwd to this & mix well. Keep aside.
Step 4: Beat the sugar & oil till smooth & creamy. Add eggs to this & beat again. I use a manual egg beater for this. An electronic egg beater can also be used but make sure not to overbeat. Add vanilla essence. Add the sieved flour (little at a time) to this mixture & beat till all the ingredients are just mixed well.

Step 5: Grease 4 small bowls with oil & atta. Fill half the moulds with cake batter. Place a tbspn of filling right in the middle (be careful!!). Now pour some more batter on the top to cover the filling completely. The moulds should be 3/4th filled. Finally the preparations are over!!
Step 6: Now place the moulds in the oven & cover the cooker with a plate kept upside down which will also allow the steam to escape. Keep on the medium heat & let it bake for 20 mins. Do not open the cooker for 20 mins. After 20 mins open the lid & check to see if the cake rises well & leaves the moulds from the ends. Now reduce the heat to minimum & keep it for another 10 mins. Turn off heat. Take out the moulds & let them cool.
Clockwise: 1. Cake Batter 2. Filling places in the center 3. Filling covered  with cake batter 4. Moulds placed in the cooker

Step 7: Its all ready now!! You can use all your creativity for the icing part or can have it just the way it is!! Creamy & delicious...I bet!!

Few Clicks: Had put some fresh cream & sugar granules over the cake before serving


Happy Baking!!

Measurements

0 Comments

For most of the cooks, cooking is mostly about approximations!! Even for me when its regular cooking with very less time in hand. So this is not for all...but sometimes these things does matter when it comes to some challenging dishes...

Following snap indicates the Tablespoon, Teaspoon & Bowl which I will mostly use in my preparations. This is just for reference, so that you can compare with the utensils you have at hand:

L to R: Tablespoon, Teaspoon & Bowl (which I use)

Thursday, December 2, 2010

"Hello World!!"

1 Comments

Being an Computer Engineer...while thinking of the name for the first post of the first blog of my life...this name clicked my mind & triggered my thoughts!!


Some of the readers who have ever written a basic "C Program", will understand these two words very well...(I am sorry for others...but for them...its always fine coz its just a 'greet' quote :) n they can accept it as a first hello from my end!!)


My basic motive behind starting with this name, is to track 6-7 yrs back when I was an Engineering student...all busy writing the Programs & never ever thought of landing down in future....writing a food blog. One of the obvious reasons behind this could be the "least interested" attitude towards the kitchen..which most of us have at that age & the other one could be my lovely mother who never bothered about my "non-kitchen types" attitude....as she was happy with my studies (most of the mothers are!!).


Never ever in my dreams, I had ever thought that I would be hunting for all kinds of recipes & experimenting them on my own....and struggling for their good tastes!!But yes, that's the fact of my life post marriage. To add to this, there is another fact as well, it is about my better half Y....his least interest in fooding (is dat a word?? but it will make my mind reach you all). In early days, this used to demotivate me a lot towards cooking....(sorry Y!!) but hey...thanks to all others around us...our friends & family!! The best part of Y was..he never used to let my new experiment go down...by calling guests at home who had & always will keep my 'cooking craze' up!! To mention though, I will never ever forget the very rare but warm comments given by Y at times...which always made me feel at the top of the world :)....still waiting for their frequency to increase....being optimistic ;)


This blog is not going to be some 'kitchen secrets' or 'fascinating recipes' as such. It will be all about my own tries in the kitchen along with all your valuable suggestions & comments which will be like an icing over the cake. With this first post of mine, I will take a leave now...hoping you all to support me in my journey from "Hello World" to the "Kitchen World"!!


Cya soon....

p.s. this is how my heart goes whenever I go to a Grocery Store or a Sabji Mandi to get vegetables..I just forget what are the leftovers at home & feel like buying the whole market. What about you all??

Wednesday, December 1, 2010

Table of Contents

0 Comments


Indian Cooking Blogs Visit blogadda.com to discover Indian blogsBlog DirectoryTopOfBlogs Food & Drink
barcelona spanien
Gita on FoodistaGita
CookEatShare Member
view my recipes
CookEatShare Member
Proud member of FoodBlogs All recipes are on Petitchef MyFreeCopyright.com Registered & Protected
my foodgawker gallery