A very popular recipe in Maharashtrian homes is Stuffed Brinjal Curry. With many guests at home, it becomes easier to approximate the number of people with the number of brinjals (which might also go wrong at times, if the curry turns out really well ;)) as my Mom used to say. There are very less chances of any leftovers & it is enjoyed by all & is also prepared as a main course vegetable in many Maharashtrian families.
There are many varieties in which the 'stuff' can be prepared. This type is a bit time consuming but worth the efforts you take. I prepared this on the day of Makar Sankranti along with some Potato fries & Amrakhand.

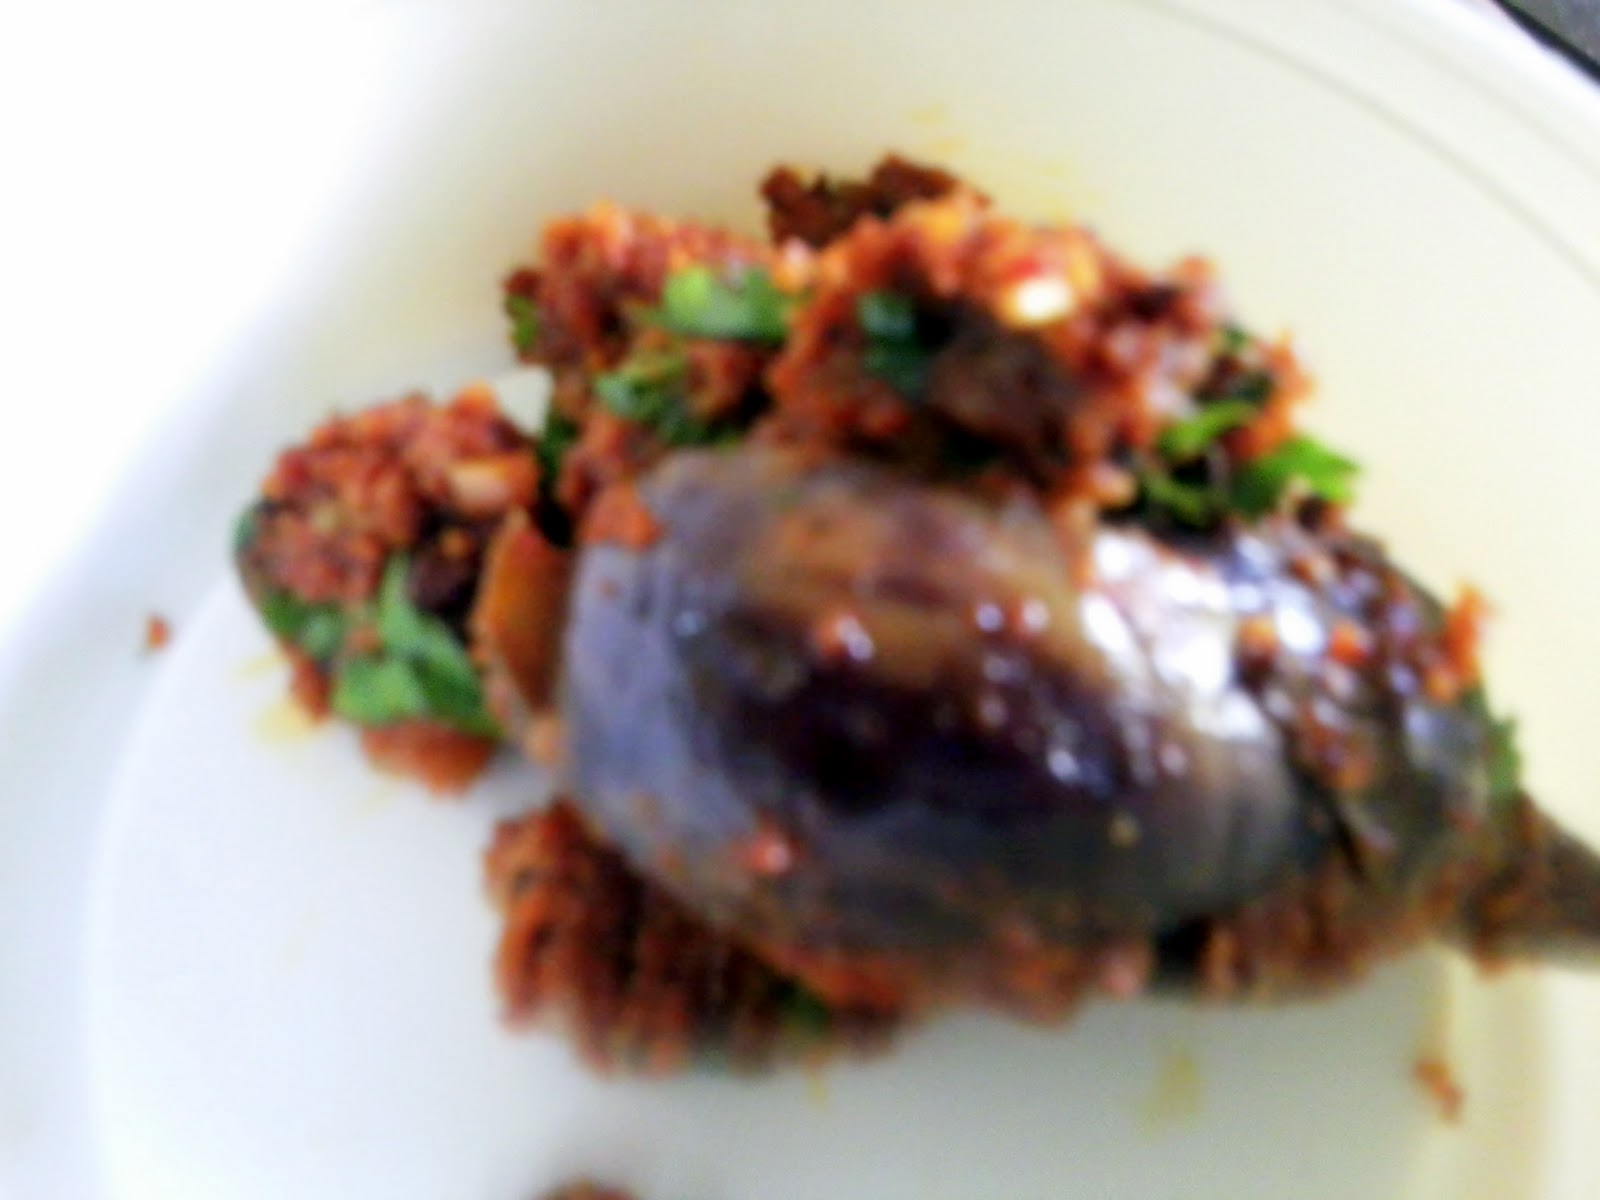
Stuffed Baingan Masala- Gravy
Serves: 1-2 Preparation Time: 15 mins Cooking Time: 15-20 mins
Ingredients:
2 purple/ green brinjals, slit for stuffing
1/2 tsp mustard seeds1/2 tsp cumin seeds
1/2 tsp haldi
4-5 tbspn oil
2 cups water
For the Stuff:
1 small onion, thinly sliced
3-4 garlic cloves
1 small piece of ginger
2 tbspn grated dry coconut
1 1/2 tbspn finely powdered roasted groundnuts
1/2 tbspn kashmiri red chilly pwd
1/2 tbspn red chilly pwd
1/2 tsp garam masala OR 1/2 tbspn home made kala (black) masala
salt as per taste
Step 1: Heat a pan. Dry roast the grated coconut. Set aside.
Step 2: In the same pan, add 1 tsp oil. Roast the thinly sliced onion till pink. Set aside.
Step 3: Blend garlic, ginger, onion, few coriander leaves finely without water.
Step 4: Add finely powdered groundnuts, spice powders & salt. Just blend to mix well. Do not make it very fine. Just a short burst is enough.This stuff is not a paste. Its dry due to crushed groundnuts & no water.
Step 5: Stuff the brinjals with this stuff.
Step 6: Heat remaining oil in kadhai. Let the mustard seeds & cumin seeds splutter. Add haldi. Add the stuffed brinjals. Add water.
Step 7: Let this cook covered for 10 mins. Open the lid & cook for another 5 mins or till the brinjals are well cooked at the stalk. Check for the consistency of the gravy. It should not be very thin. Garnish with coriander & serve with rice/ chapati/ bhakari.
Note: You can also cook the brinjals in a pressure cooker. I do this when in a hurry. Prepare the tempering in the cooker itself. Add 1 cup water. Cook upto 1 whistle on medium flame & let the pressure release on its own. Do not cook for more time else it will loose its taste & brinjals will get overcooked!